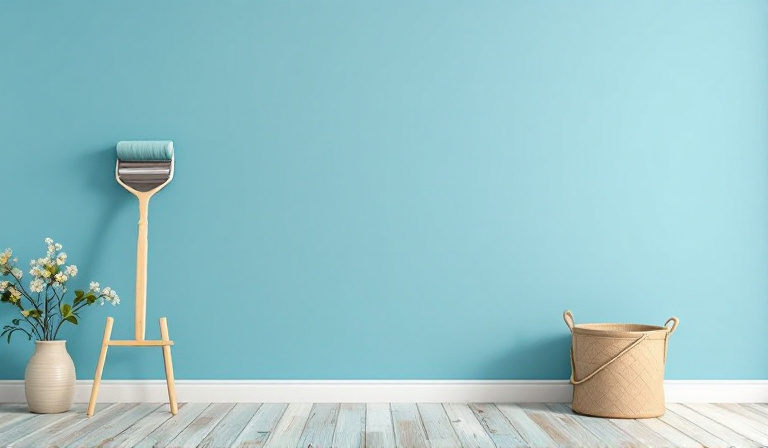
Painting your home’s interior can transform your space, adding a fresh, vibrant look that breathes new life into your rooms. Whether you're tackling a single accent wall or an entire house, approaching the task like a pro can make all the difference. Here’s a step-by-step guide to ensure your paint job looks professional and polished.
Before you begin, make sure you have all the necessary supplies. Here's a handy checklist:
Professional results start with proper preparation. Move furniture away from walls and cover anything you don’t want paint on. Use drop cloths to protect floors and tape off any areas like trim, windowsills, and door frames using painter's tape to ensure clean lines.
Inspect your walls for any cracks, holes, or imperfections. Use a putty knife and spackling paste to fill in these areas, then sand them smooth once dry. Clean the walls with a damp cloth to remove dust and ensure the paint adheres properly.
Priming is crucial, especially if you’re painting over a darker color or a newly patched wall. Primer helps to create a uniform surface, allowing the paint to go on smoothly and evenly. Apply primer using a roller for large areas and a brush for edges and corners. Let it dry completely before moving on to painting.
Start painting by “cutting in” the edges of the walls. Use an angled brush to carefully paint along the edges where the roller can’t reach, such as corners, baseboards, and around windows and doors. This step is important to ensure that the roller doesn’t miss any spots.
Once you’ve cut in, it’s time to use the roller. Pour paint into a tray and roll the roller in the paint until it's fully loaded. Use a “W” pattern to apply the paint in sections, maintaining a wet edge to avoid lap marks. Overlap the edges slightly where you've cut in to blend the paint seamlessly.
For a professional finish, a second coat is often necessary. Wait for the first coat to dry thoroughly before applying the second. The second coat will cover any missed spots and deepen the color, providing a rich, even finish.
Once you’re satisfied with the coverage, carefully remove the painter’s tape before the paint fully dries to avoid peeling. Clean your brushes and rollers immediately to preserve them for future use. Dispose of any unused paint according to local regulations.
Stand back and admire your handiwork! A fresh coat of paint can dramatically change the ambiance of a room, making it feel clean, updated, and personalized. Whether you opted for a bold color or a subtle hue, your newly painted walls are sure to bring joy and satisfaction.
With these steps, you can tackle your painting project with confidence, knowing you’re equipped to achieve a professional-quality finish without the professional price tag. Happy painting!
.png)